

This is long overdue. It took so long, in fact, that yet another piece for my room arrived today and I considered waiting a bit longer until it was installed to do an entire room reveal. I decided not to. So let’s get to it.
Ta-daa!
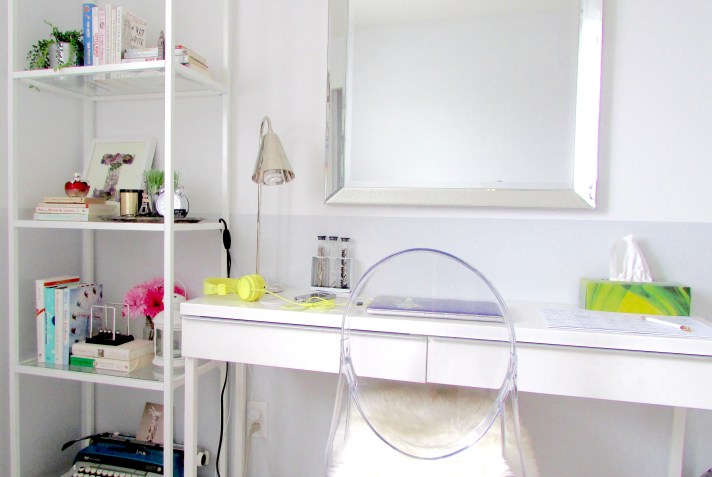
Here we have my new (as of weeks ago) Krystal chair (topped with an Ikea fluffy thing) and my new(ish) Ikea bookshelf. Those two alone are kind of underwhelming and I made you guys wait so long for this post, so I’m also going to show you how I styled the bookshelf. Feel free to copycat!

To start with, I got together a bunch of books with specific colours to go with my colour scheme. Thankfully, my colour scheme is white, with a little bit of everything else. That made things a bit easier. I also got some art (pictures, paintings, etc.), plants (Okay, so they’re fake. They still count!), and various knickknacks that mean something to me or added to the atmosphere of my bedroom. Or both.
I ended up with a lot more than my bookshelf could handle. After hours of trying to figure things out, I came up with what I have now, which I love. The first thing I did was take the things that I absolutely wanted on the bookshelf and put everything I could do without to the side. At the end, I added things from the second pile where I needed them. I then organized everything as follows: Books, big things, little things, other.

Three of the shelves are glass and I found having small things directly on the glass with nothing else gave it a spacey feel. Books gave a good grounded base to start with and I put several little things on them and filled glass space with bigger things.

When I had more books and bigger things, the shelf would feel heavier. This I balanced out with my little things and by using the glass space without taking it all up. Here I have my rock (and fossil, and sea shell, and smoothed glass) collection and my Elizabeth Tower pencil sharpener (which I didn’t know was a pencil sharpener until after I brought it home and is mainly used as the counterpart to my Eiffel Tower because I use pens).
Throughout the bookshelf, I kept things interesting by giving depth to my shelves. I mean this literally. For my three main shelves, I made sure to have something in the foreground and something in the background, and I tried to have focal points, too. Not just one-to-a-shelf necessarily, but I arranged things in a way that made certain things stand out more than others. This way, nothing was fighting for attention and the eye has a natural starting point before moving on with the rest.

I ran out of books faster than I thought I would, and I had a few too many small knickknacks that I didn’t want just sitting there on the bare glass. To keep things cohesive and give the shelf a finished look, I added a silver tray. It added a lot of character and is my favourite part of the entire shelf!

Because the tray alone had so much going on, I gave it a focal point and colour scheme of its own. Because it was more cohesive that way, it also didn’t clash with anything else, despite having different colours happening.
Finally, although each of the shelves worked on their own, I wanted something to pull everything together and ground the entire unit. On my bottom shelf I put a single item which was relevant to my interests, went with the colour scheme (or was it the colour scheme that I decided based on it?), and was literally heavy so I wouldn’t worry about the shelf tipping over very easily.
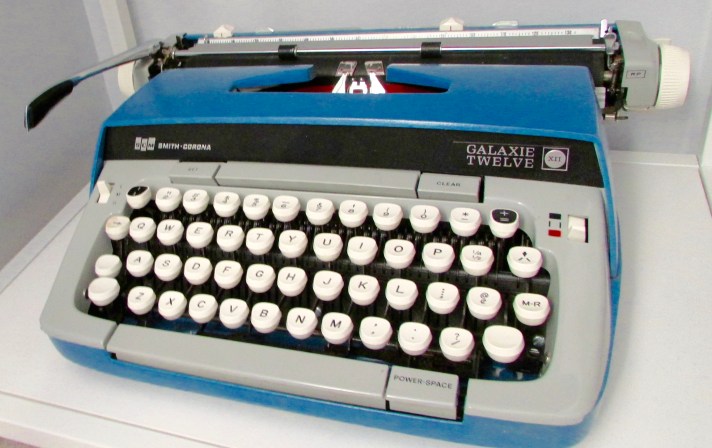
Perfect, isn’t it? The typewriter that grounds the precarious writer. It still works, too! Unfortunately it’s out of black ink, though.
As for the top shelf, I wasn’t sure what to put. I wanted something tall to make the ceiling seem higher, light because it was on the top shelf, interesting enough to draw the eye up… Come Christmas season, it is where I’ll put my pink christmas tree (spoiler alert) but for now it’s where I keep my mugs. I never meant to collect mugs. It just sort of happened. At least if I ever move out, I won’t be starting from scratch in terms of dishes.

If you’re designing your own bookshelf, there are a few things to keep in mind. One, it’s your bookshelf and you can do whatever the fuck you want with it. Have fun with it! Show off with it! It’s yours, and ultimately, no one cares.
Also, I arranged a lot of my decor keeping in mind that my shelf was in a corner. Everything was arranged to be seen from a certain angle range. Yours may not be like that, so make sure what you do works for what you’ve got because every shelf is different (as they should be).

A bookshelf is an expression of you. If you look up how to style a bookshelf, you’ll find a ton of different, crazy, and contradictory advice. Pick and choose.
That’s all for today. I hope you enjoyed this post! If you did, let me know by liking it and I’ll be sure to do more interior decorating posts in the future. Let me know in the comments what you liked or didn’t like, agreed with or disagreed with! did you do something cool with your own bookshelf that you wouldn’t mind sharing? I’m always curious about what you’re all up to!

One thought on “Styling a Bookshelf”